
Don’t wait for friends to magically appear! When I first moved to Maryland I didn’t know anyone. I was a freelance artist so I obviously didn’t have local “work friends”. I wanted to meet people, especially creatives so the first thing I did was look into where I could do shows and started applying.
Join something! At my first show Tassie Hannah left a message for me asking if I’d be interested in joining a guild - Hyattsville Fiber. I didn’t hesitate - this decision was as I say a game changer! Through the guild I’ve met and became friends with so many artists, quilters, weavers, printmakers, dyers etc.
Take a class! One of the guild members, Cindy Gossage is a master at creating community among strangers, she’s also an incredible teacher. I took one of her classes, now theres a whole group of us that take class after class of Cindy’s because now we are another network of creative friends!
If you like someones work comment! Several years ago on instagram I commented on seat covers Bonnie Magness Gardiner indigo dyed and she responded with an invitation to join her and Cindy for dyeing sessions. We started meeting up every Thursday, now our group of three has tripled over the last few years and has become another precious network.
Talk to strangers! One day Cindy, Bonnie and I went into a local gallery for a show and met the their new shop coordinator Tyler, fast forward a few years she’s a full time artist and despite us being 30 years older she is a key part of our network. Don’t let things like age differences keep you from joining in!
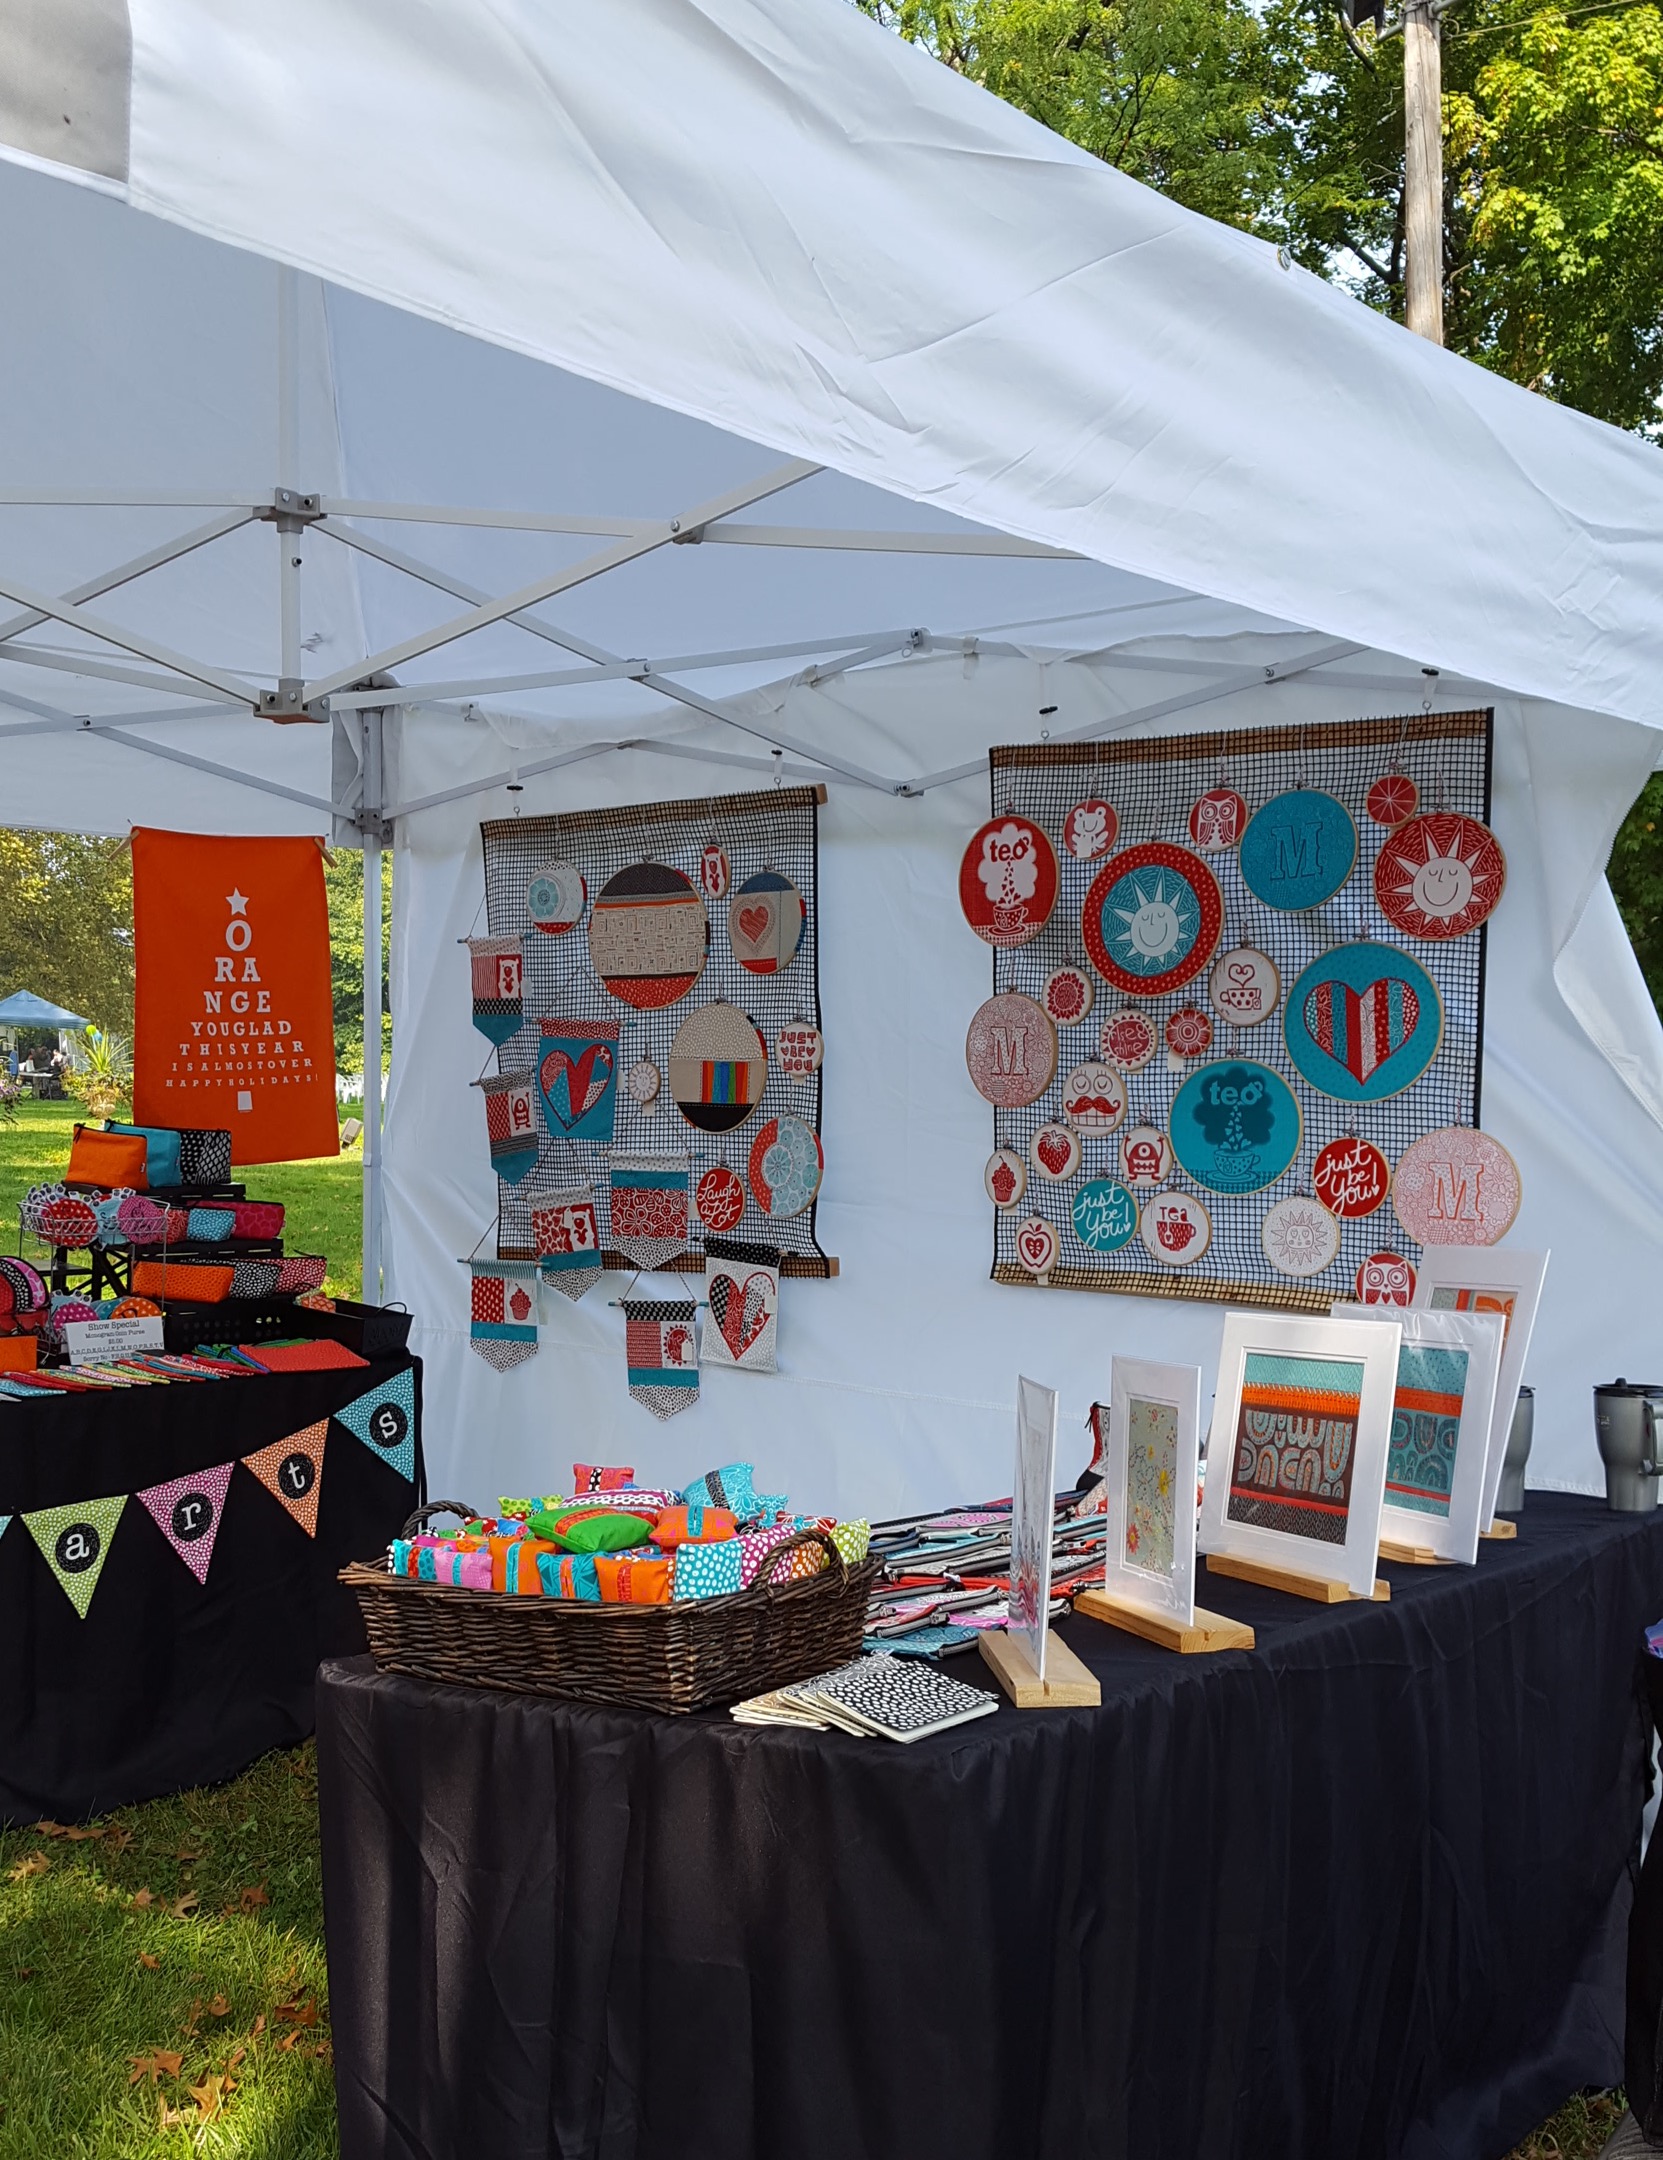
Participate! If you make art or crafts to sell then craft fairs are a wonderful way to meet creative friends. I always say even if a show isn’t a great success financially many times you come a away with a new friend which is always a win.
My best advice! Join something that interests you, a guild, a club, take a class, interact. I recently went to a new sewing circle where I didn’t know anyone. Truth be told I was a little nervous but everyone was there for the same reason and now I look forward to getting to know this new group better. Once again I was glad I put myself out there!
I hope you all are lucky enough to find your own creative circle!